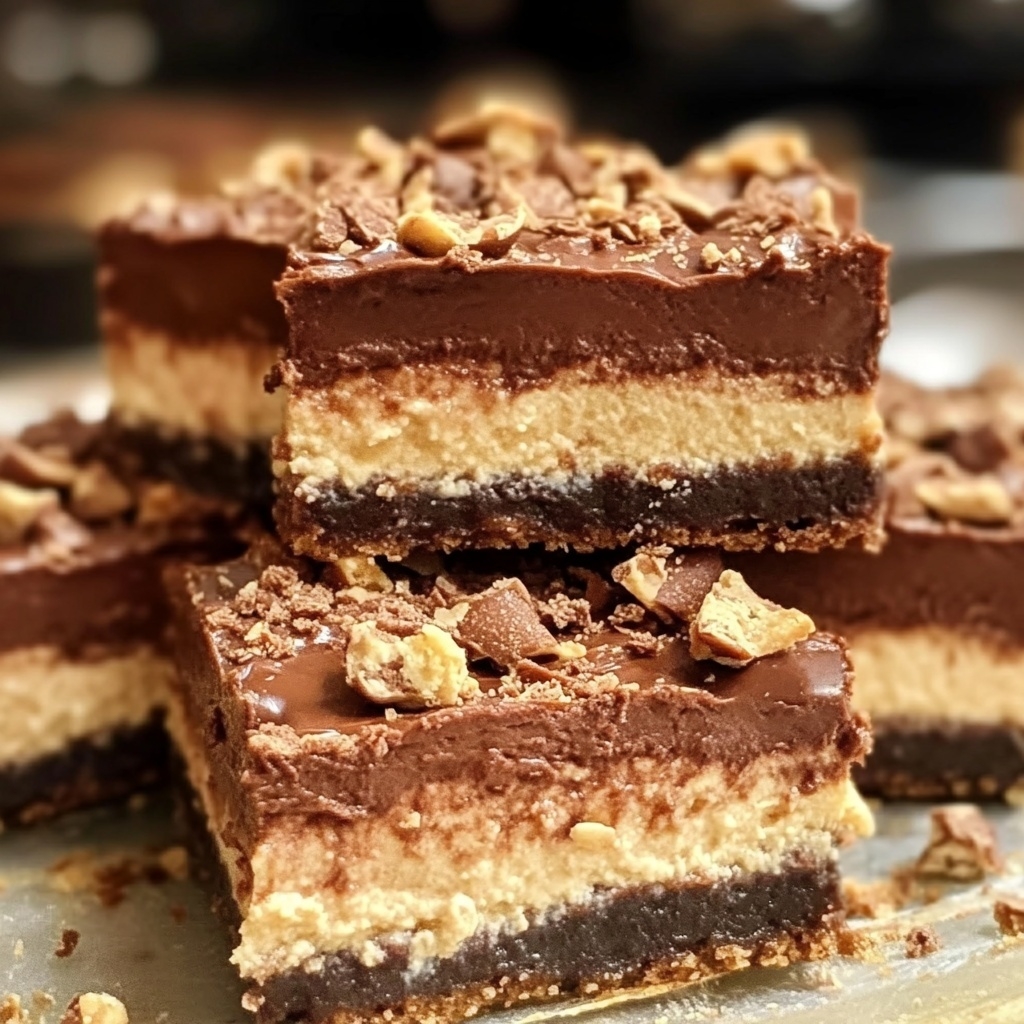
If you love rich, creamy desserts, these Nutella Cheesecake Bars are an irresistible treat. Combining a buttery crust with a smooth cheesecake layer and swirls of Nutella, they offer the perfect balance of chocolate and creaminess in every bite. Easy to prepare and endlessly indulgent, these bars are perfect for parties, holiday gatherings, or simply satisfying your sweet tooth at home.
With their fudgy base and silky topping, these cheesecake bars will quickly become a favorite in your dessert repertoire.
Ingredients
Yields 12–16 bars
Crust:
- 1 ½ cups (150g) graham cracker crumbs or digestive biscuits, finely crushed
- 6 tablespoons (85g) unsalted butter, melted
- 2 tablespoons granulated sugar
Cheesecake Layer:
- 16 ounces (450g) cream cheese, softened
- 2/3 cup (130g) granulated sugar
- 2 large eggs
- 1 teaspoon vanilla extract
- 1/2 cup (120ml) heavy cream or sour cream
Nutella Swirl:
- 1/2 cup (150g) Nutella, slightly warmed
Preparation Time
- Prep time: 20 minutes
- Baking time: 35–40 minutes
- Cooling and chilling: 2–3 hours
- Total time: Approximately 3 hours 30 minutes
Step-by-Step Instructions
Step 1: Prepare the Crust
- Preheat oven to 325°F (160°C).
- Mix graham cracker crumbs, melted butter, and sugar in a medium bowl.
- Press the mixture firmly into the bottom of a 9×9-inch (23×23 cm) baking pan lined with parchment paper.
- Bake the crust for 8–10 minutes, then let it cool slightly.
Step 2: Make the Cheesecake Filling
- In a large bowl, beat cream cheese until smooth.
- Add sugar and mix until combined.
- Beat in eggs, one at a time, followed by vanilla extract and heavy cream or sour cream.
Step 3: Assemble the Bars
- Pour the cheesecake mixture over the cooled crust, spreading evenly.
- Drop spoonfuls of Nutella over the cheesecake layer.
- Use a knife or skewer to swirl the Nutella into the cheesecake for a marbled effect.
Step 4: Bake the Cheesecake Bars
- Bake for 35–40 minutes, until the edges are set and the center is slightly jiggly.
- Remove from oven and let cool to room temperature.
Step 5: Chill and Serve
- Refrigerate for at least 2 hours or overnight for best results.
- Cut into squares and serve. Optionally, drizzle extra Nutella on top before serving.
Serving Suggestions
- Serve chilled for a creamy texture and clean slices.
- Pair with coffee, espresso, or milk for a delightful dessert experience.
- Sprinkle with crushed hazelnuts or chocolate shavings for added texture.
- Perfect for dessert tables, parties, or as a sweet gift for loved ones.
Nutritional Highlights
| Nutrient | Per Serving (1 bar, approx. 1/12 of recipe) |
|---|---|
| Calories | 350 |
| Protein | 6 grams |
| Total Fat | 24 grams |
| Saturated Fat | 12 grams |
| Carbohydrates | 30 grams |
| Sugars | 20 grams |
| Fiber | 1 gram |
| Sodium | 180 milligrams |
Nutritional Notes:
- Nutella adds a rich chocolate-hazelnut flavor but also contributes sugar and fat.
- Cream cheese and heavy cream provide a smooth, indulgent texture.
- Using a thinner crust or reducing sugar slightly can lighten the calorie load while maintaining flavor.
Tips for Perfect Nutella Cheesecake Bars
- Use room-temperature cream cheese for a smooth, lump-free filling.
- Warm Nutella slightly to make swirling easier and achieve a more dramatic marbled effect.
- Avoid overbaking to keep the bars creamy; the center should still jiggle slightly when done.
- Chill thoroughly before slicing to achieve clean, even bars.
Variations to Try
- Substitute Nutella with peanut butter or chocolate-hazelnut spread for flavor variations.
- Add mini chocolate chips or chopped hazelnuts into the cheesecake layer for extra texture.
- Top with whipped cream or a dusting of cocoa powder before serving.
- Make a gluten-free version by using gluten-free cookies for the crust.
These Nutella Cheesecake Bars are a decadent, crowd-pleasing dessert that combines a buttery crust, creamy cheesecake, and luscious chocolate-hazelnut swirls. Easy to make and endlessly customizable, they are perfect for family gatherings, special occasions, or treating yourself to a chocolatey indulgence.
With clear steps and accessible ingredients, even beginner bakers can create a dessert that looks and tastes like it came from a bakery.

