
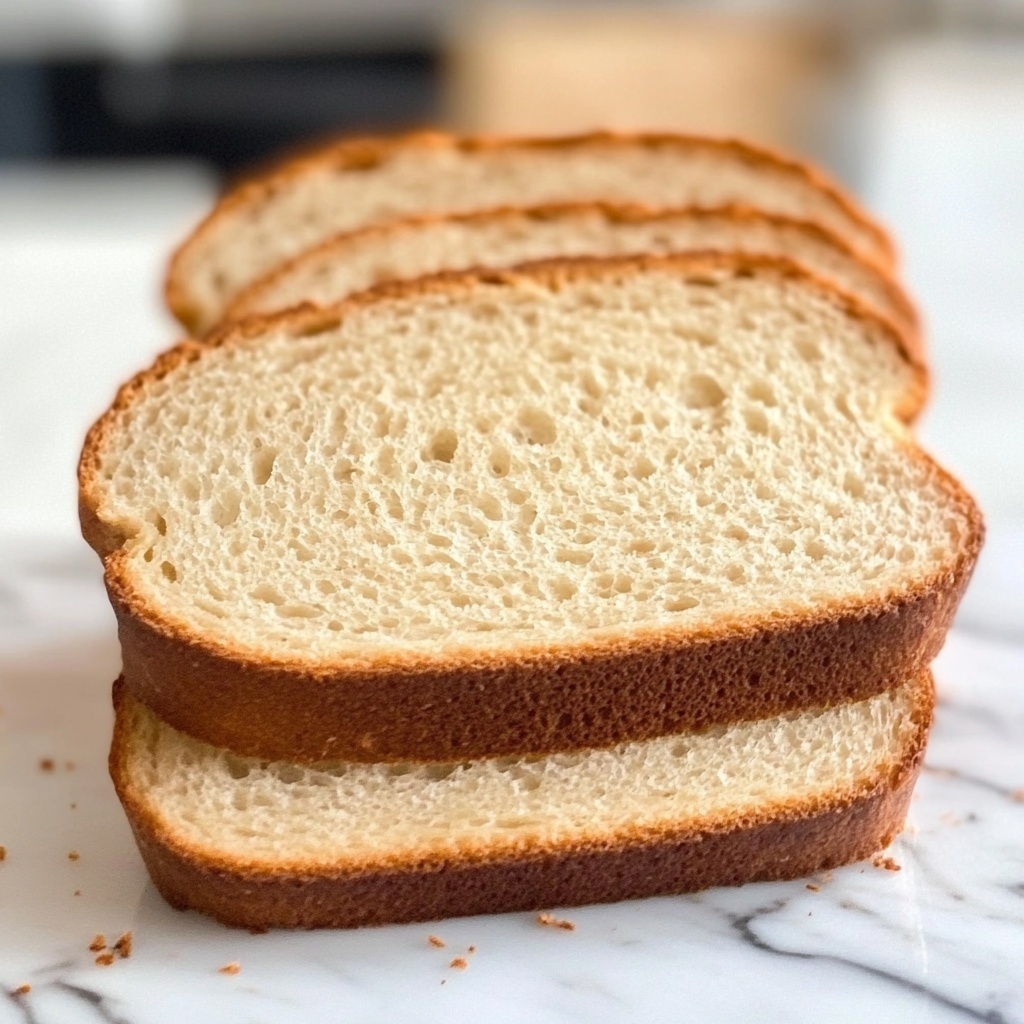
Looking for a gluten free bread recipe that’s soft, sliceable, and perfect for sandwiches, toast, or your favorite spreads? This Gluten Free Classic Sandwich Bread delivers a golden crust, tender crumb, and neutral flavor — all without the gritty texture or dense heaviness common in store-bought options.
Whether you’re celiac, gluten-sensitive, or simply reducing gluten in your diet, this foolproof recipe will become your go-to for everyday bread baking.
Ingredients
Yields 1 standard 9×5 loaf
- 2½ cups gluten free all-purpose flour (with xanthan gum, or add 1 tsp separately)
- 1 tablespoon sugar or honey
- 1½ teaspoons salt
- 1 tablespoon instant dry yeast
- 1¼ cups warm water (around 110°F or 43°C)
- 2 tablespoons olive oil (or neutral oil)
- 2 large eggs, room temperature
- Optional: 1 teaspoon apple cider vinegar (improves texture and shelf life)
Preparation Time
- Prep Time: 15 minutes
- Rise Time: 45–60 minutes
- Bake Time: 40–45 minutes
- Total Time: ~1 hour 45 minutes
Step-by-Step Instructions
Step 1: Prepare Your Loaf Pan
- Grease a 9×5-inch loaf pan with oil or line with parchment paper.
- Preheat oven to 375°F (190°C) and place a rack in the center.
Step 2: Mix Dry Ingredients
- In a large mixing bowl, combine the gluten free flour, salt, and yeast.
- If your flour doesn’t include xanthan gum, add it here and whisk thoroughly.
Step 3: Blend Wet Ingredients
- In another bowl, whisk together the warm water, sugar or honey, eggs, oil, and vinegar (if using).
- Pour the wet mixture into the dry ingredients.
Step 4: Beat the Batter
- Using a stand mixer or hand mixer with paddle attachment, beat the dough on medium speed for 3–4 minutes.
- The batter will be thick, similar to cake batter — not kneadable like regular dough.
Step 5: Let It Rise
- Transfer the batter into the prepared loaf pan and smooth the top with a wet spatula.
- Cover loosely with plastic wrap or a clean kitchen towel.
- Let it rise in a warm, draft-free place for 45–60 minutes, or until it domes about 1 inch above the pan.
Step 6: Bake the Bread
- Remove covering and bake for 40–45 minutes.
- The crust should be golden brown, and the internal temperature should reach 200°F (93°C).
- If browning too quickly, cover loosely with foil during the last 15 minutes.
Step 7: Cool Before Slicing
- Remove from pan and let cool completely on a wire rack before slicing to avoid a gummy texture.
Serving Suggestions
- Slice and toast with butter, nut butter, or jam
- Use as sandwich bread for lunchboxes or grilled cheese
- Cube for homemade gluten free croutons or stuffing
- Freeze slices individually for quick breakfasts or snacks
Nutritional Highlights
| Nutrient | Per Slice (1 of 12) |
|---|---|
| Calories | 165 kcal |
| Protein | 4 grams |
| Total Fat | 5 grams |
| Saturated Fat | 1 gram |
| Carbohydrates | 26 grams |
| Sugars | 1.5 grams |
| Fiber | 2 grams |
| Sodium | 290 mg |
Nutritional Notes:
- Moderate fiber content supports digestion
- Low in sugar and free from preservatives
- Higher protein than most store-bought gluten free loaves
- Lower sodium than many commercial gluten free breads
Tips for Success
- Use room temperature eggs for better incorporation into batter
- Check flour blend ingredients — if it lacks xanthan gum, you’ll need to add some
- Don’t over-proof — rising too long may cause collapsing during baking
- Use a thermometer for perfect doneness (aim for 200°F internal temp)
- Cool completely before slicing to maintain structure
Storage & Freezing
- Room temperature: Store wrapped for up to 2 days
- Refrigerator: Stays fresh up to 5 days
- Freezer: Freeze individual slices for up to 3 months — toast directly from frozen
This Gluten Free Classic Sandwich Bread is everything you want in a homemade loaf — fluffy, sliceable, and versatile, without the need for dairy or wheat. Easy enough for first-time bakers and satisfying enough to replace traditional bread, it’s sure to become a staple in your gluten free kitchen.