
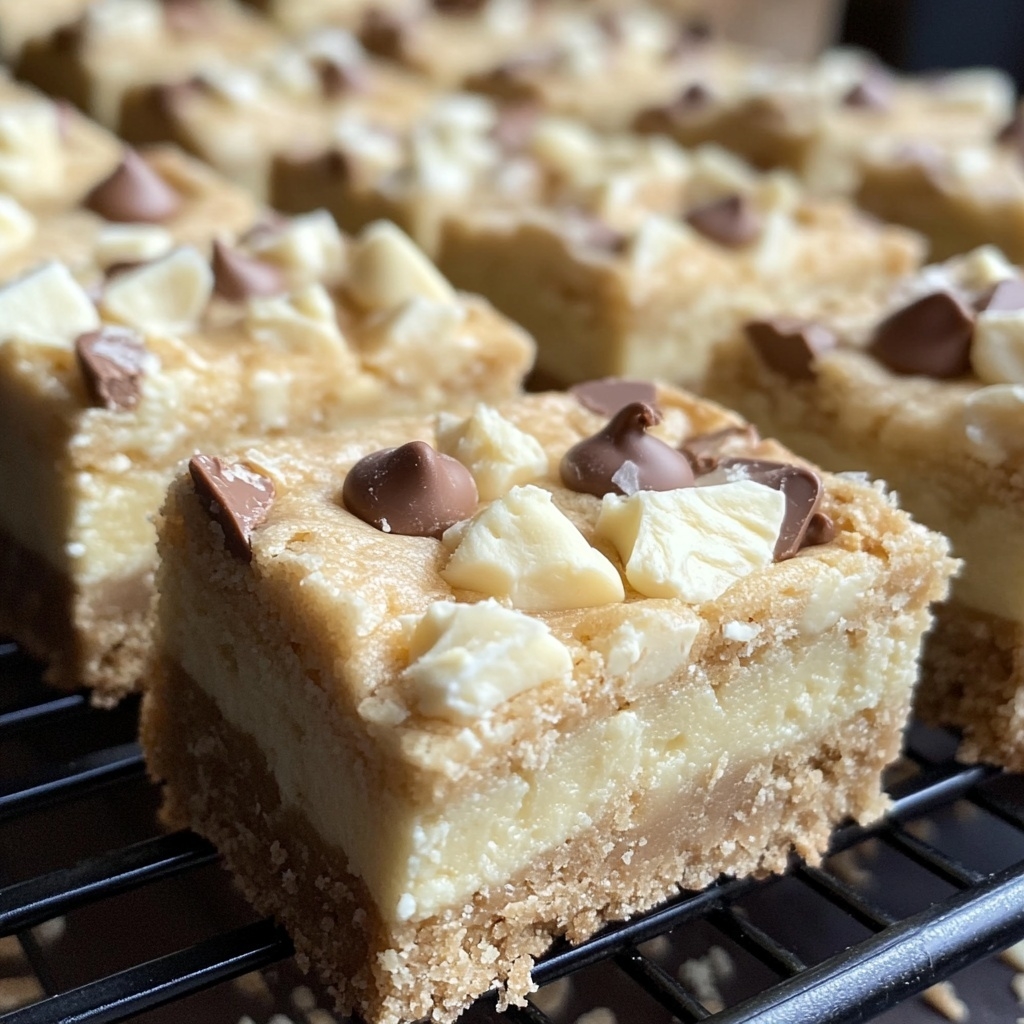
If you love cookie dough and crave a sweet, creamy dessert that melts in your mouth, these White Chocolate Cookie Dough Bars are your new favorite treat. They combine the irresistible texture of edible cookie dough with the rich, velvety sweetness of white chocolate — all in a convenient bar form.
Best of all, this recipe requires no baking, making it a quick and easy option for satisfying dessert cravings or impressing guests at parties. Every bite delivers a perfect balance of buttery cookie flavor and silky chocolate coating.
Ingredients
Serves 12 bars
For the Cookie Dough Base:
- 1/2 cup (115g) unsalted butter, softened
- 1/2 cup (100g) brown sugar, packed
- 1/4 cup (50g) granulated sugar
- 2 teaspoons vanilla extract
- 2 tablespoons milk (add more if needed)
- 1 1/4 cups (155g) heat-treated all-purpose flour*
- 1/2 teaspoon salt
- 1/2 cup (90g) mini chocolate chips
For the White Chocolate Topping:
- 1 1/2 cups (270g) white chocolate chips
- 1 teaspoon coconut oil or butter (optional, for smoothness)
*To heat-treat flour: Spread on a baking sheet and bake at 350°F (175°C) for 5 minutes, or microwave in a bowl for 60 seconds, stirring halfway. Let cool before use.
Preparation Time
- Prep time: 20 minutes
- Chill time: 1 hour
- Total time: 1 hour 20 minutes
Step-by-Step Instructions
Step 1: Prepare the Cookie Dough
- In a medium bowl, cream together softened butter, brown sugar, and granulated sugar until smooth.
- Add vanilla extract and milk, mixing until fully combined.
- Gradually stir in heat-treated flour and salt until a soft dough forms.
- Fold in mini chocolate chips.
Step 2: Press into a Pan
- Line an 8×8-inch (20×20 cm) pan with parchment paper.
- Press the cookie dough evenly into the bottom of the pan using a spatula or clean hands.
Step 3: Make the White Chocolate Topping
- Melt white chocolate chips with coconut oil in a microwave-safe bowl in 20-second intervals, stirring until smooth.
- Pour the melted chocolate over the cookie dough layer and spread evenly.
Step 4: Chill and Serve
- Refrigerate for at least 1 hour or until firm.
- Cut into bars and serve chilled for a creamy, chewy bite.
Serving Suggestions
- Top with crushed nuts, sprinkles, or a drizzle of dark chocolate for extra flair.
- Serve alongside coffee or milk for a delightful afternoon treat.
- Wrap individual bars in parchment for easy grab-and-go snacks.
- Store in an airtight container in the refrigerator for up to 1 week, or freeze for longer storage.
Nutritional Highlights
| Nutrient | Per Bar (1 of 12) |
|---|---|
| Calories | 220 |
| Protein | 3 grams |
| Total Fat | 12 grams |
| Saturated Fat | 7 grams |
| Carbohydrates | 26 grams |
| Sugars | 19 grams |
| Fiber | 1 gram |
| Sodium | 90 milligrams |
Nutritional Notes:
- White chocolate adds a creamy sweetness and smooth texture.
- Mini chocolate chips provide bursts of cocoa flavor in every bite.
- Butter and brown sugar create that signature cookie dough richness.
- For a healthier twist, use almond flour, coconut sugar, and dairy-free white chocolate.
Tips for the Best Texture
- Use room temperature butter for smoother mixing.
- Don’t skip heat-treating the flour — it’s key for food safety.
- Chill thoroughly before slicing for clean, even bars.
- If you prefer softer bars, add an extra tablespoon of milk to the dough.
Variations to Try
- Peanut Butter Swirl: Mix 2 tablespoons of peanut butter into the dough for nutty flavor.
- Dark Chocolate Drizzle: Contrast the sweetness with a drizzle of melted dark chocolate.
- Festive Mix-Ins: Add colored candies or dried fruit for seasonal variations.
- Vegan Option: Replace butter with coconut oil and use vegan white chocolate chips.
These White Chocolate Cookie Dough Bars are the perfect combination of simplicity, indulgence, and no-bake convenience. With their rich cookie base and creamy white chocolate layer, they’re a guaranteed hit at parties, potlucks, or cozy nights in.
Delicious, elegant, and easy to make — they’re proof that the best desserts don’t always require an oven!